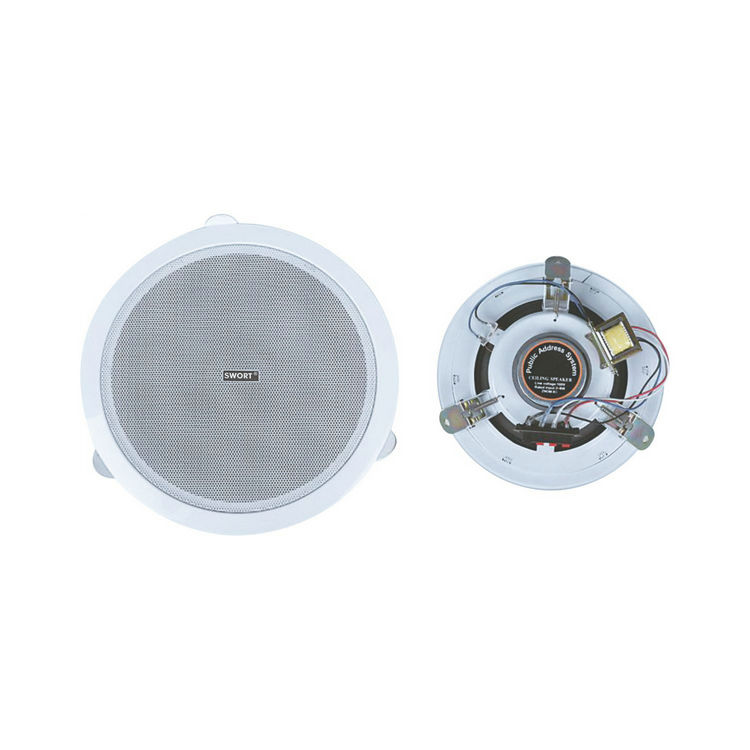
Here are the wiring steps for ceiling speakers:
Prepare tools and materials:
Prepare ceiling speakers, audio cables (usually two-core or four-core cables), wire strippers, screwdrivers, insulating tape and other tools.
Make sure the audio cable is long enough to connect to the amplifier or audio output device.
Determine the wiring position:
Determine the wiring position of the ceiling speaker according to the installation location.
Make sure the wiring position is convenient for connection and does not affect the appearance and safety.
Strip the audio cable:
Use wire strippers to strip the outer sheath of the audio cable to expose the metal wire inside.
According to the specifications of the audio cable, strip the outer sheath of the appropriate length.
Connect the audio cable:
Connect the metal wire of the audio cable to the binding post or terminal of the ceiling speaker.
Make sure the connection is firm to avoid looseness or poor contact.
If the audio cable is a two-core cable, usually red represents the positive pole and black represents the negative pole, which needs to be connected to the corresponding polarity of the ceiling speaker.
Fix the audio cable:
Use insulating tape to secure the audio cable to the terminal block or wiring terminal to prevent it from loosening or falling off.
Make sure the insulating tape is tightly wrapped to prevent short circuits or leakage.
Install the ceiling speaker:
Secure the ceiling speaker in the installation location and tighten the fixing screws with a screwdriver.
Make sure the ceiling speaker is firmly installed and will not fall or shake.
Test the wiring:
Connect the power amplifier or audio output device and turn on the power.
Test the sound effect of the ceiling speaker to ensure that the wiring is correct and the sound quality is good.
I hope this wiring step can help you! If you have other questions, please feel free to ask me.